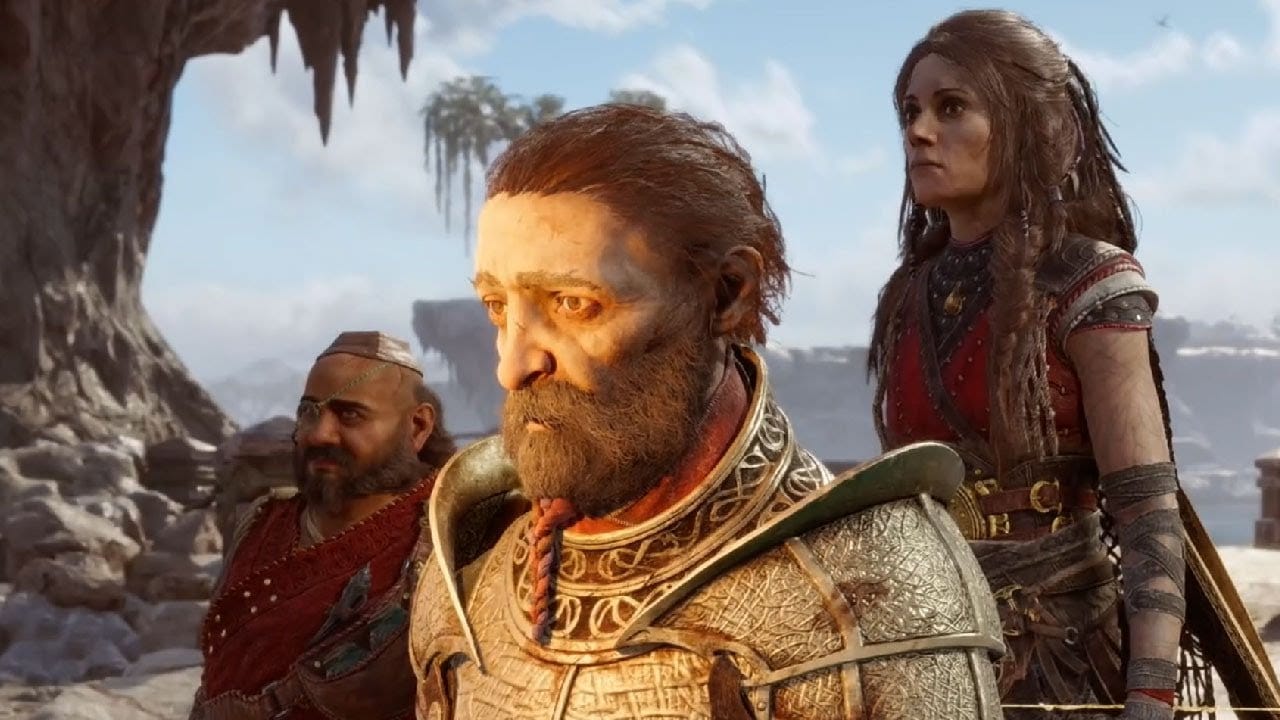
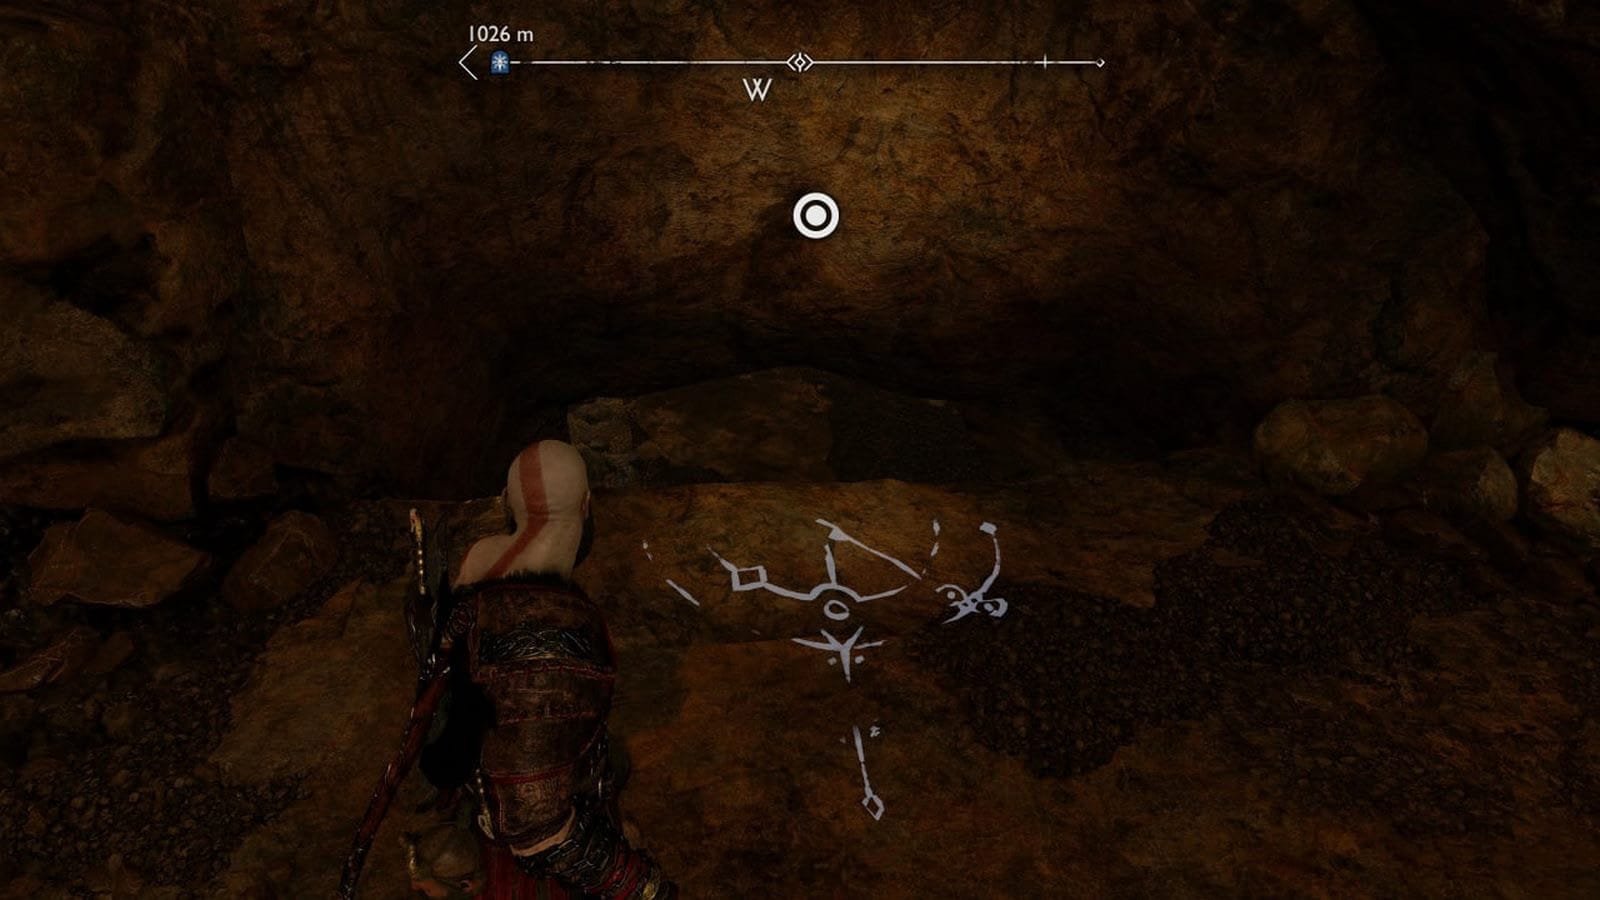
In God of War Ragnarok, berserkers are optional bosses that must be defeated in order to complete the “Just in Time for the King” request, obtain the “Cold Reception” achievement, and collect a set of berserk armor. To summon them to battle, you must find warrior graves and interact with them.
There are 10 tombstones in total, however, there are 13 berserkers themselves, as in some cases you will have to fight two mini-bosses at once. You can fight twelve of them in any sequence, and the last one – King Hrolf Kraki – is unlocked only after killing them. It is for the king that the above trophy is awarded.
How to defeat berserkers in God of War Ragnarok?
General Battle Tips
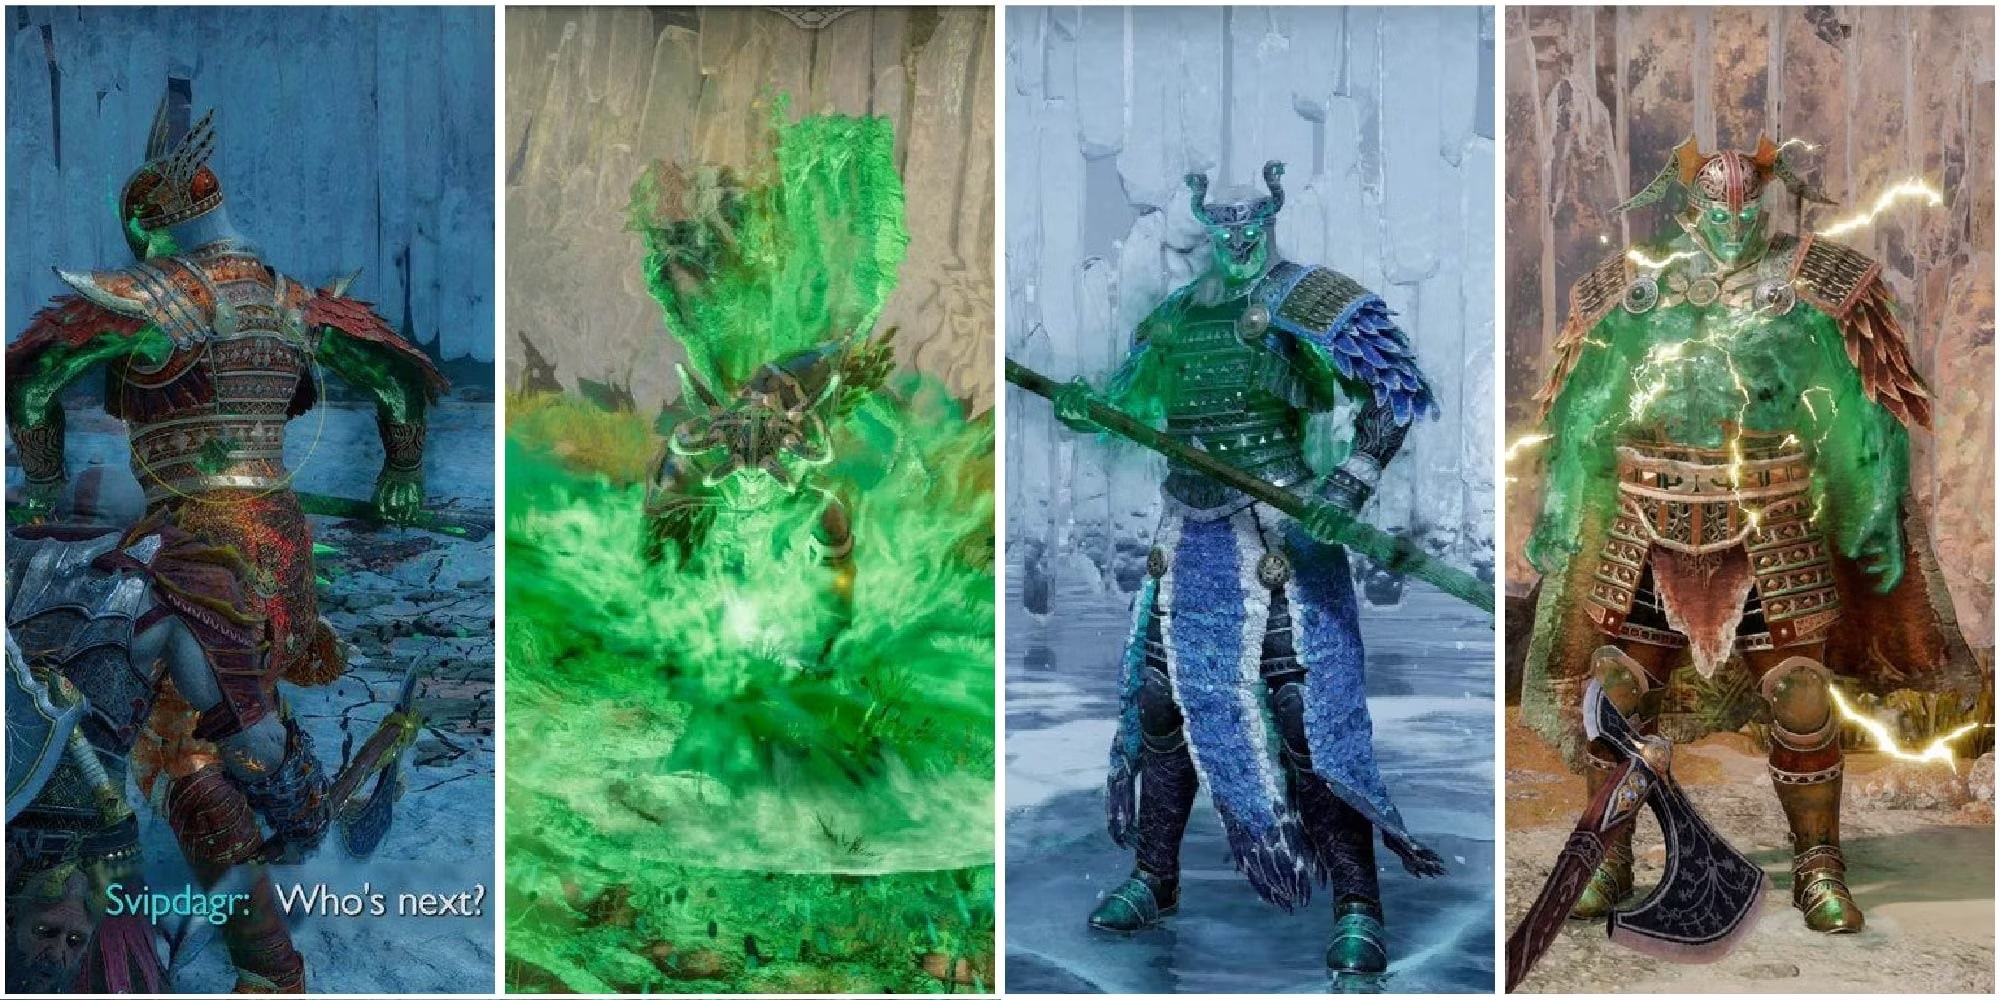
All berserkers have different levels, so some of them can be defeated when you go through the main storyline, and others – only after getting and improving the most powerful weapons and armor. You can tell how strong an enemy you are dealing with by the color of their life bar:
- Green bar – the enemy’s level is lower than Kratos’, so the battle will be relatively easy.
- Yellow bar – the enemy’s level is the same as Kratos’, so the battle will not be easy.
- Orange bar – the enemy is one level higher than Kratos, so it will be very difficult to defeat him, but still possible.
- Purple bar – the enemy is two levels higher than Kratos, so it’s almost impossible to defeat him (we don’t recommend even trying).
- Red bar – the enemy will be able to kill you with one or two blows.
Thus, having found the tombstone, activate it and look at the enemy’s health bar – if it is green or yellow, you can safely go for killing him, and if it is orange, think twice before attacking the berserker (it’s better to return to it later after pumping the hero). However, the king will most likely be orange for you even after maximizing character development.
Next, we recommend that you be sure to purchase the resurrection stone from the blacksmith and activate the control points during the battle. This option can be found in the following menu: “Options” -> “Convenience” -> “Combat”. By doing so, you will create a checkpoint when you take down the boss with half health. In case of death, you will again have a full life bar and a resurrection stone (even if you managed to use it), and the enemy will have 50% of health left.
Combat tactics with berserkers
When fighting any such enemy, try to use elemental strikes (L1 + R1 or L1 + R2) as often as possible. Use those techniques that have the shortest rollback time for all three weapon types, and pump them up to level 3. Of course, you should choose attacks with stun and high damage.
Among the relics, take the “Blade of Death”, which, when fully pumped, releases three chakrams of bivriesta at once. It has a recovery time of 85 seconds.
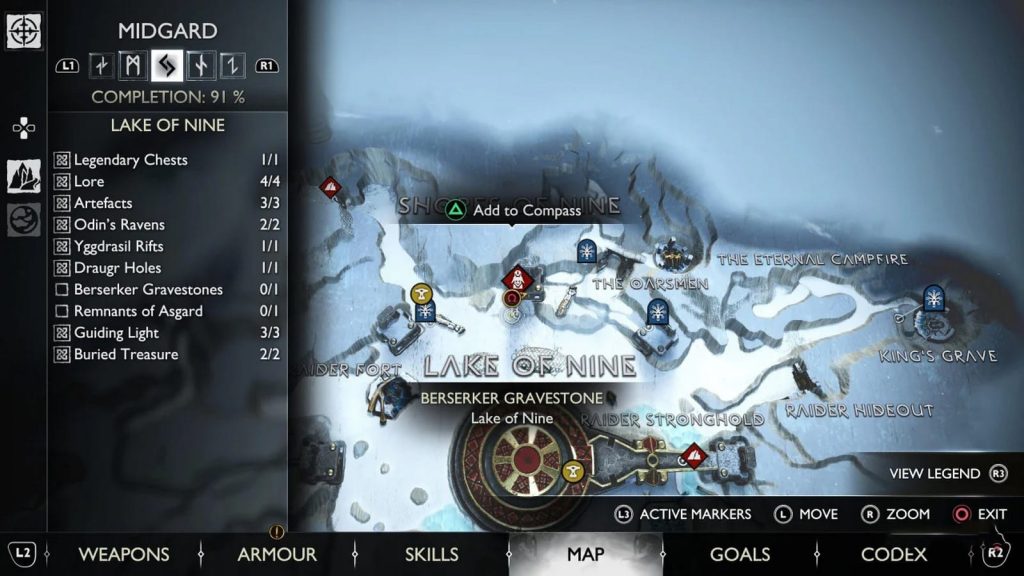
Fraekni the Zealous
- World: Midgard
- Location: Lake of Nine
You can fight her after completing the story mission “Word of Destiny”. From the Mystic Gate at the Lake of Nine, go left, heading north from the Temple of Thur. There you will find the tomb of the berserker.
At long range, Fraekni will either dash (can’t block, but can dodge and counterattack) or jump up and perform a block-breaking attack, which is almost always followed by an unblockable strike at close range. So in the second case, you should first dodge the two attacks and only then counterattack.
If you are close to the boss, he will either deliver a straight left jab, which you can parry or block, or he will deliver an unblockable attack followed by the same jab.

After her health drops, she starts to perform longer combo attacks (1-2 hits are added). We advise you to stay close to the ice wall, so that you can counterattack her quickly after a dash. Don’t take any chances – only hit her after parrying/stunning her or after she performs a combo.
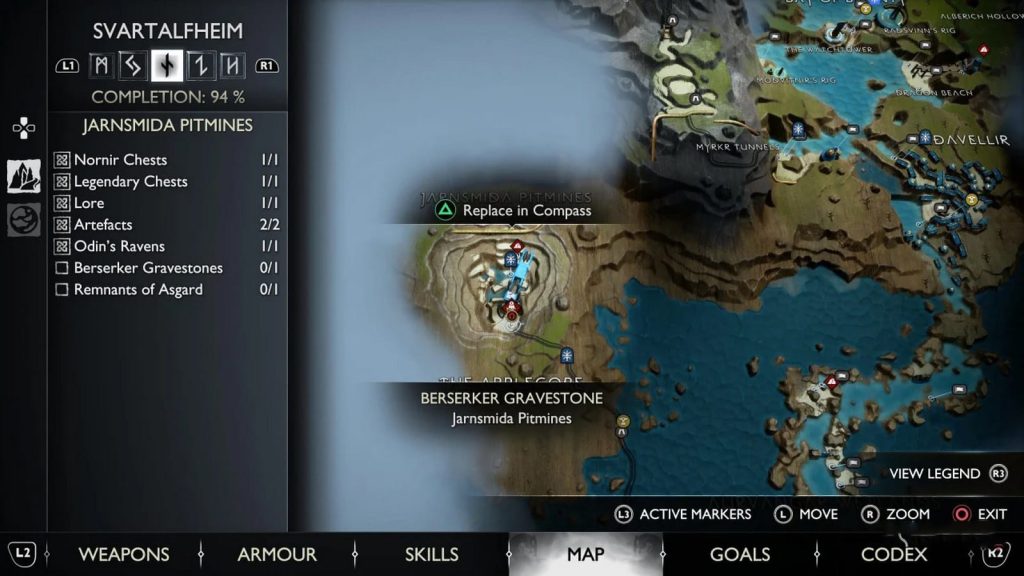
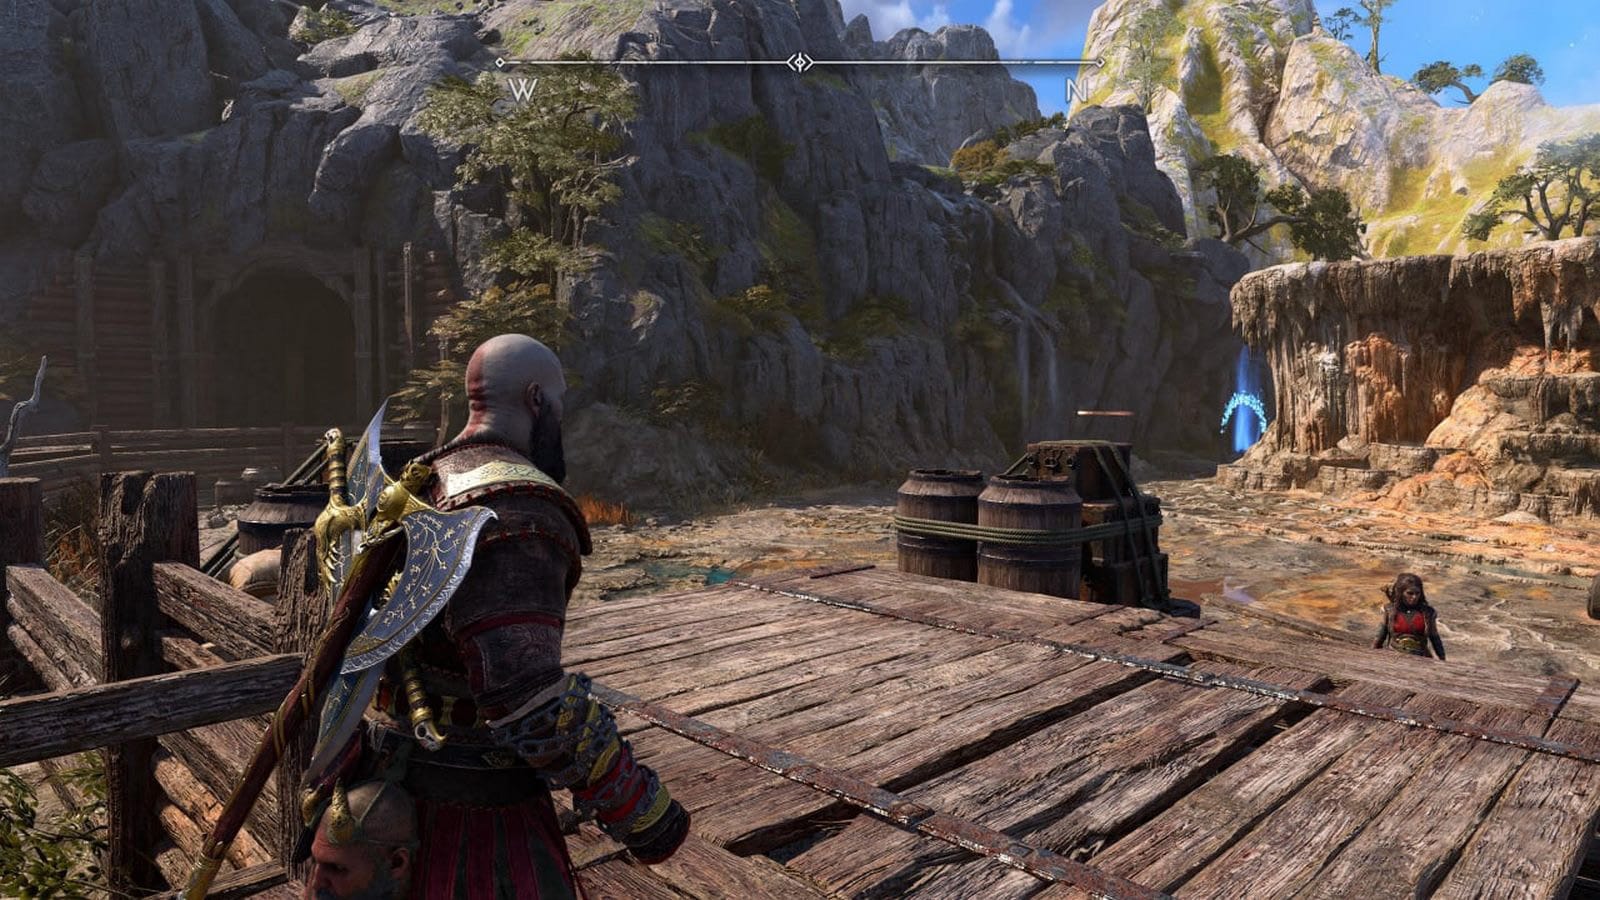
Bodvar the Fierce and Starolfr the Troublesome
- World: Svartalfheim
- Location: Jarnsmida Pitmines
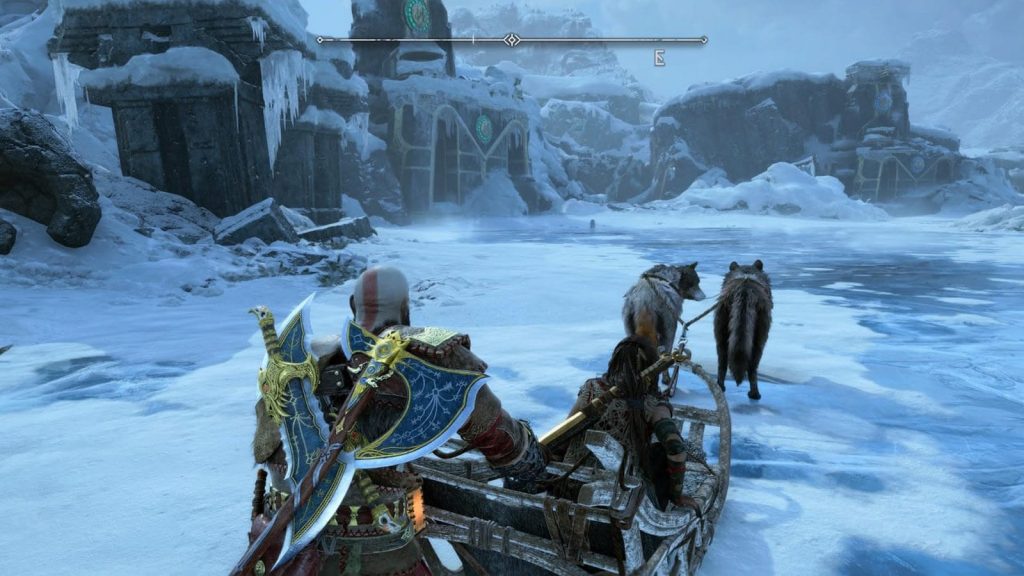
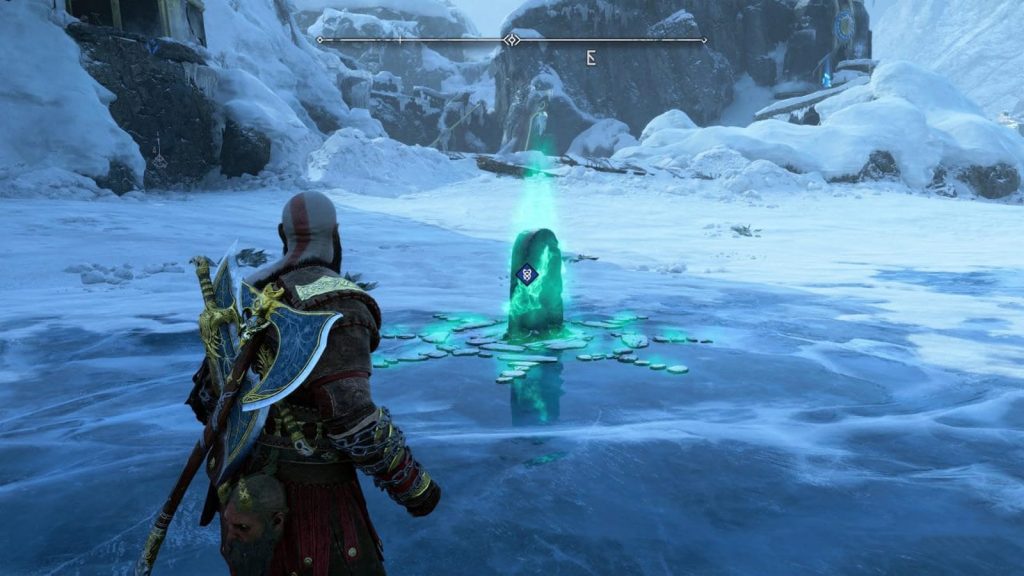
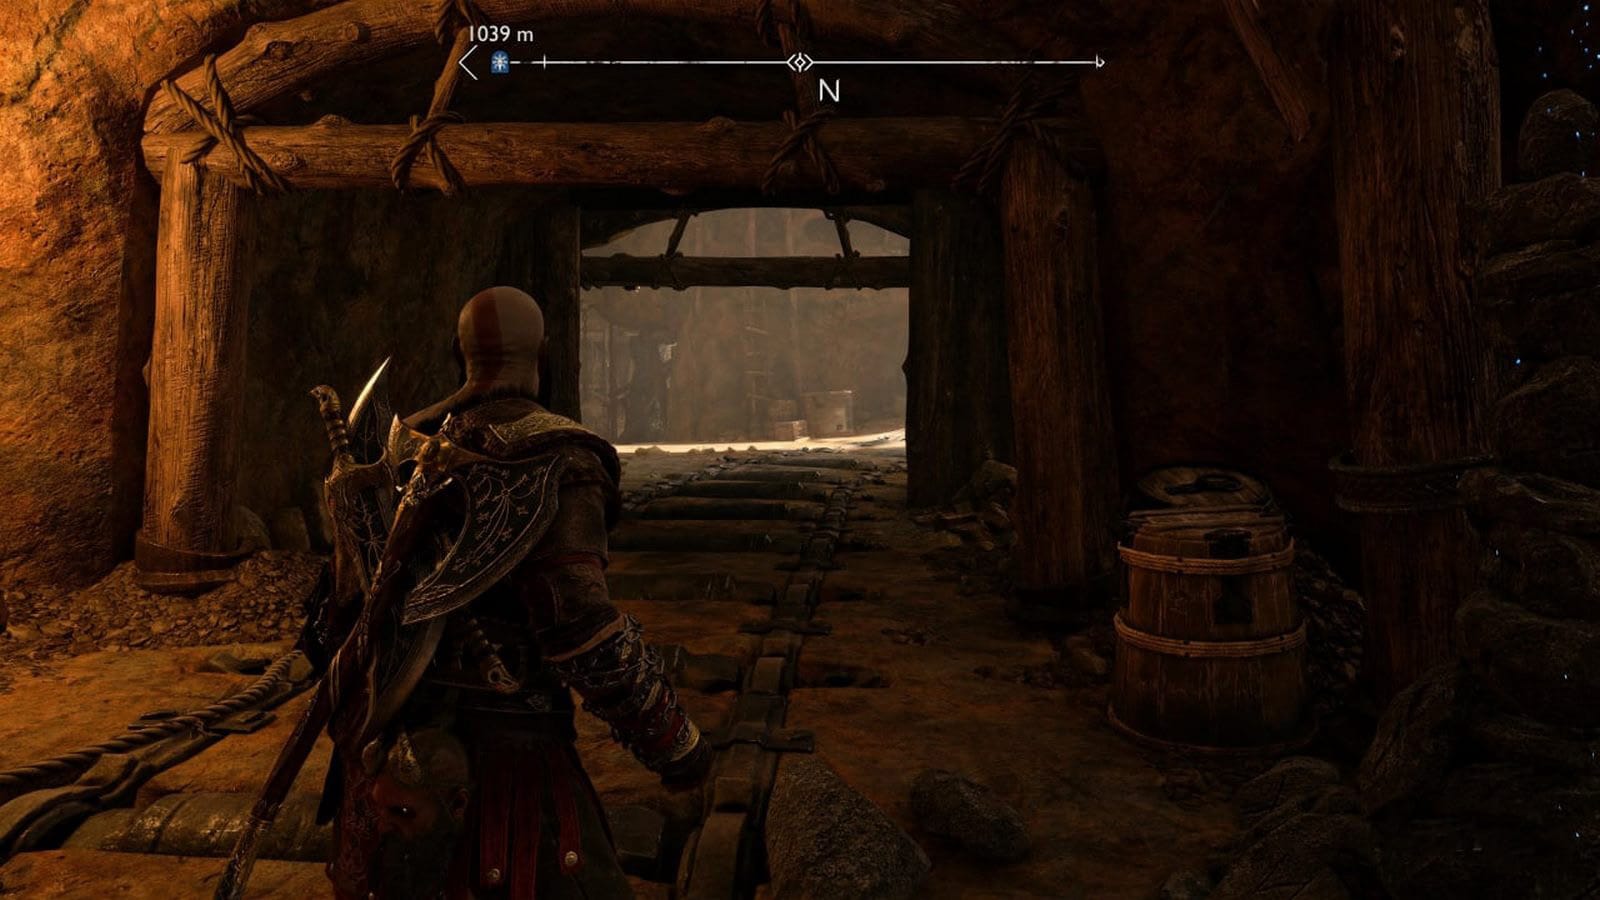
You can fight them after completing the story mission “Word of Fate”. Head to the Mystic Gate in Heartland, then head to the right. Go left and climb through the gap in the rock. Head up to the upper level and follow the main path to the right. Once you’re outside, the berserk tomb will be just ahead.
You will have to fight two opponents at the same time. Bodvar uses two shields, and Starolfr uses two swords, and the former is more dangerous to Kratos than the latter. The fact that he is able to break through your block with a flash of light, causing huge damage, as well as perform a charged shield attack that hits the area. Starolfr, on the other hand, will sometimes cling to walls and throw blades at you, but they’re pretty easy to fend off.
If you focus on one enemy and kill him, the second boss will hit harder, so try to reduce their health at the same time. If you don’t succeed, try to kill Bodvar first (using all his abilities and techniques) and then finish off Starolfr.

We would like to add that health crystals will appear in the arena throughout the battle, so we advise you to use Spartan Wrath instead of Fury or Valor.
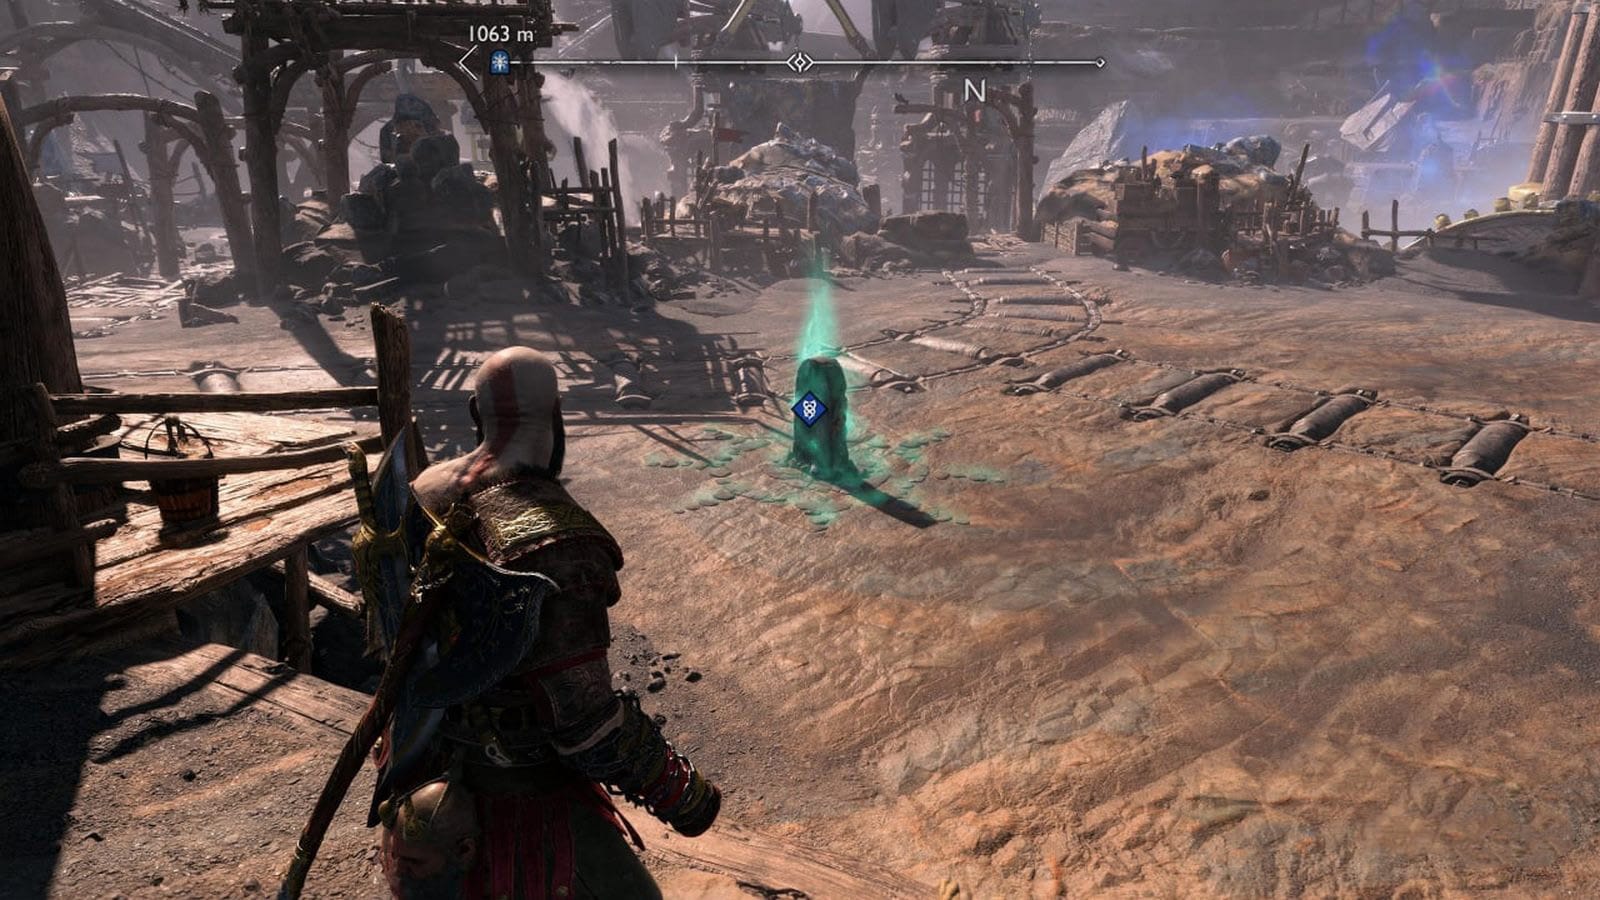
Hardrefill the Callous
- World: Svartalfheim
- Location: Nidavellir Beach
You can fight him during or after completing the story mission “Blacksmith of Your Destiny” After descending from the mountain on the wagon, make your way down to the open area, and right ahead you will find a tombstone.

This Berserk doesn’t boast a lot of different attacks. At close range, he will perform a series of flurries of blows that can be both normal and able to break through a block. You’ll be able to dodge or parry them and then counterattack. If you’re standing far away from him, he’ll make dashes that break through blocks and then switch back to flurries.
Pay special attention to his jump attack, which is marked by a green smoke circle on the ground (the boss lands about a second after the indicator appears). Try to dodge immediately to avoid taking significant damage. You can also immediately counterattack the enemy after landing.

After the life scale drops to half, Hardrefill will start making more flurry attacks and make 2-3 jumps in a row. There will be no life crystals in the arena, so it is advised to take Spartan Valor.